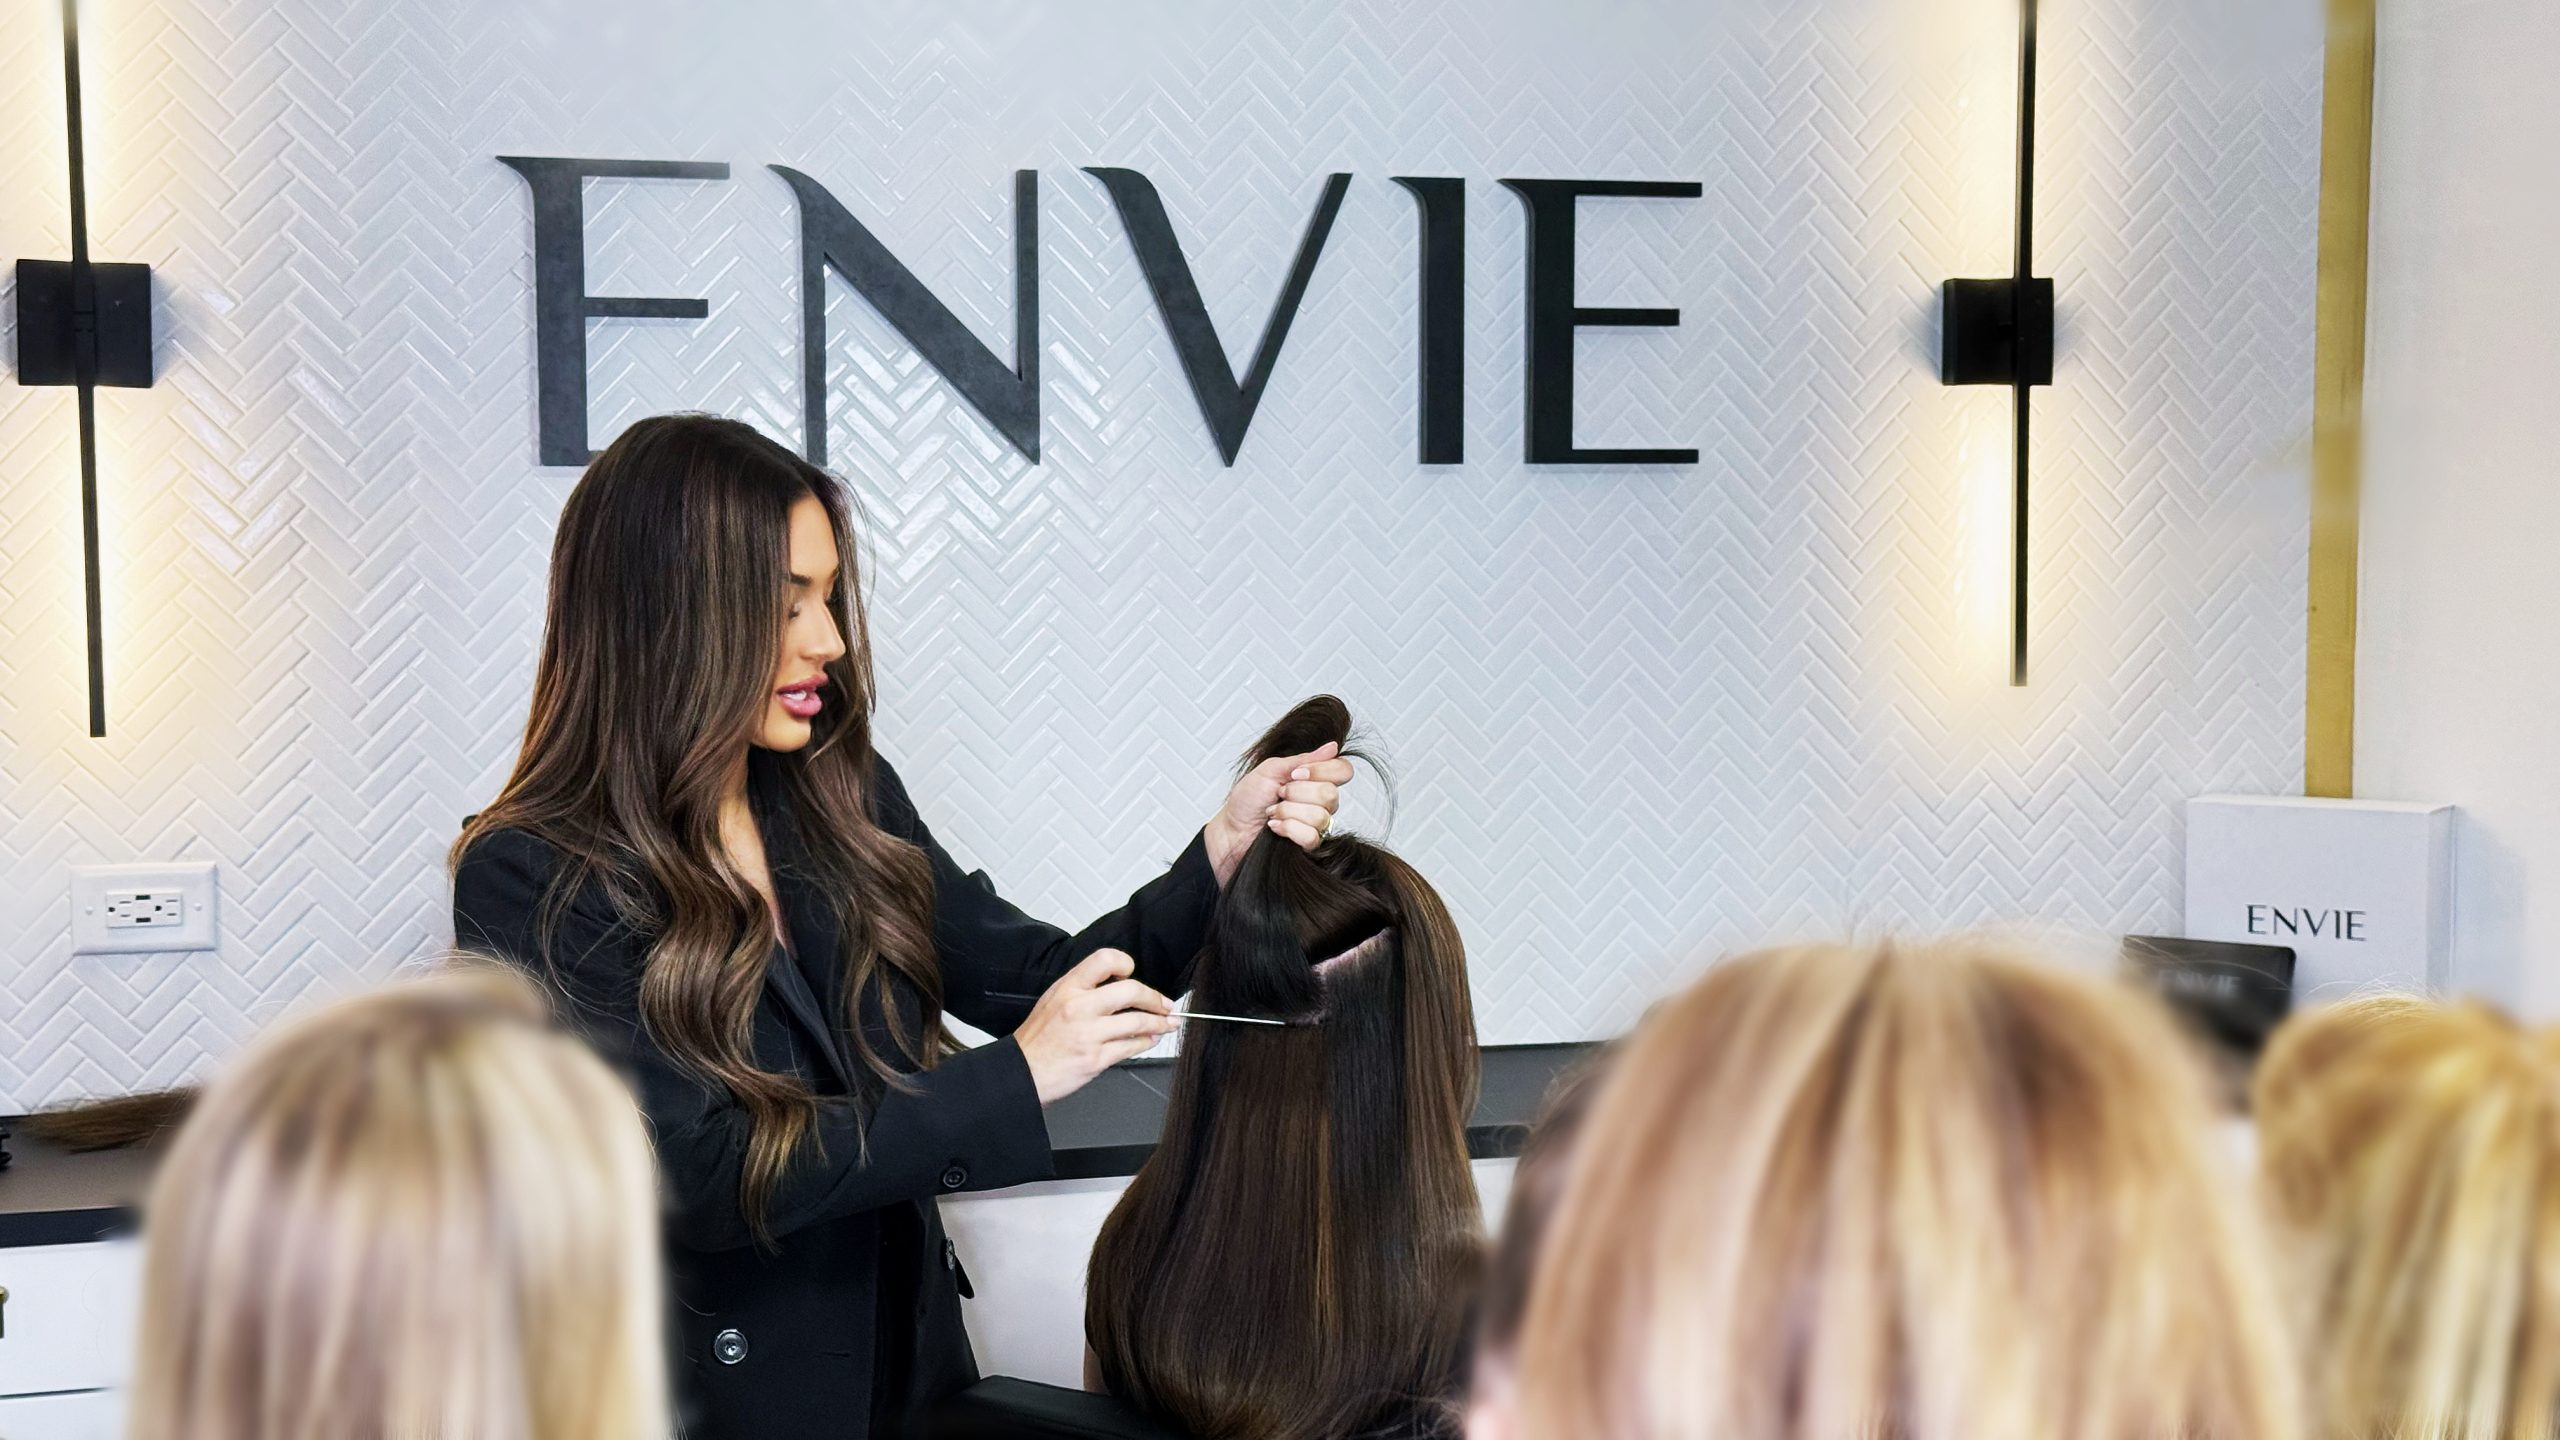
Extensions are an investment, for both you and your clients. But what if we told you those old ENVIE wefts sitting in your drawer could be transformed into brand-new, custom K-tips? Not only does this maximize your client’s investment, but it also gives you total control over placement, density, and customization. Here’s how to do it, step by step.
Step 1: Prep the Weft
Start by cutting the weft line off of your client’s old extensions. You’ll be left with free hair strands, ready to be reshaped into K-tips.
Step 2: Melt the Keratin
Using your heating tool, melt a small amount of keratin powder until it becomes tacky and pliable. This will serve as the bonding base for your new tips.
Step 3: Form the Strip
Lay a small section of the hair into the melted keratin and gently press it together to create a thin strip. Keep the keratin evenly distributed for a clean finish.
Step 4: Trim to Size
Once the strip has cooled and hardened, cut it down:
- Height: Trim the top to match the ideal length for a K-tip bond.
- Width: Cut each strip into narrow sections based on the client’s density needs.
Step 5: Install as Usual
Now you have custom K-tips, ready for application with a fusion tool. You can even tone or custom-color the wefts before conversion for an even more personalized result.

Why This Method Is Great
✔️ Eco-conscious: Extend the life of old wefts instead of tossing them.
✔️ Cost-effective: Maximizes your client’s investment.
✔️ Customizable: Control size, density, and placement for flawless results.
✔️ Luxury-level service: Clients will love the innovation and personal touch.
At ENVIE, we’re all about blending artistry with innovation. Have you tried turning wefts into K-tips? Reach out and share your work with us by tagging @envieextensions on social media, we’d love to feature your creativity!